


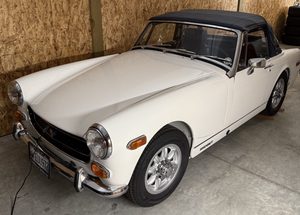




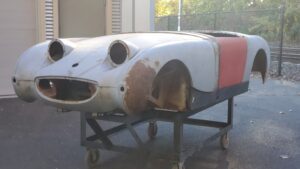
We see a lot of bent front frames. That’s because they are supposed to be bent (upwards of course)!
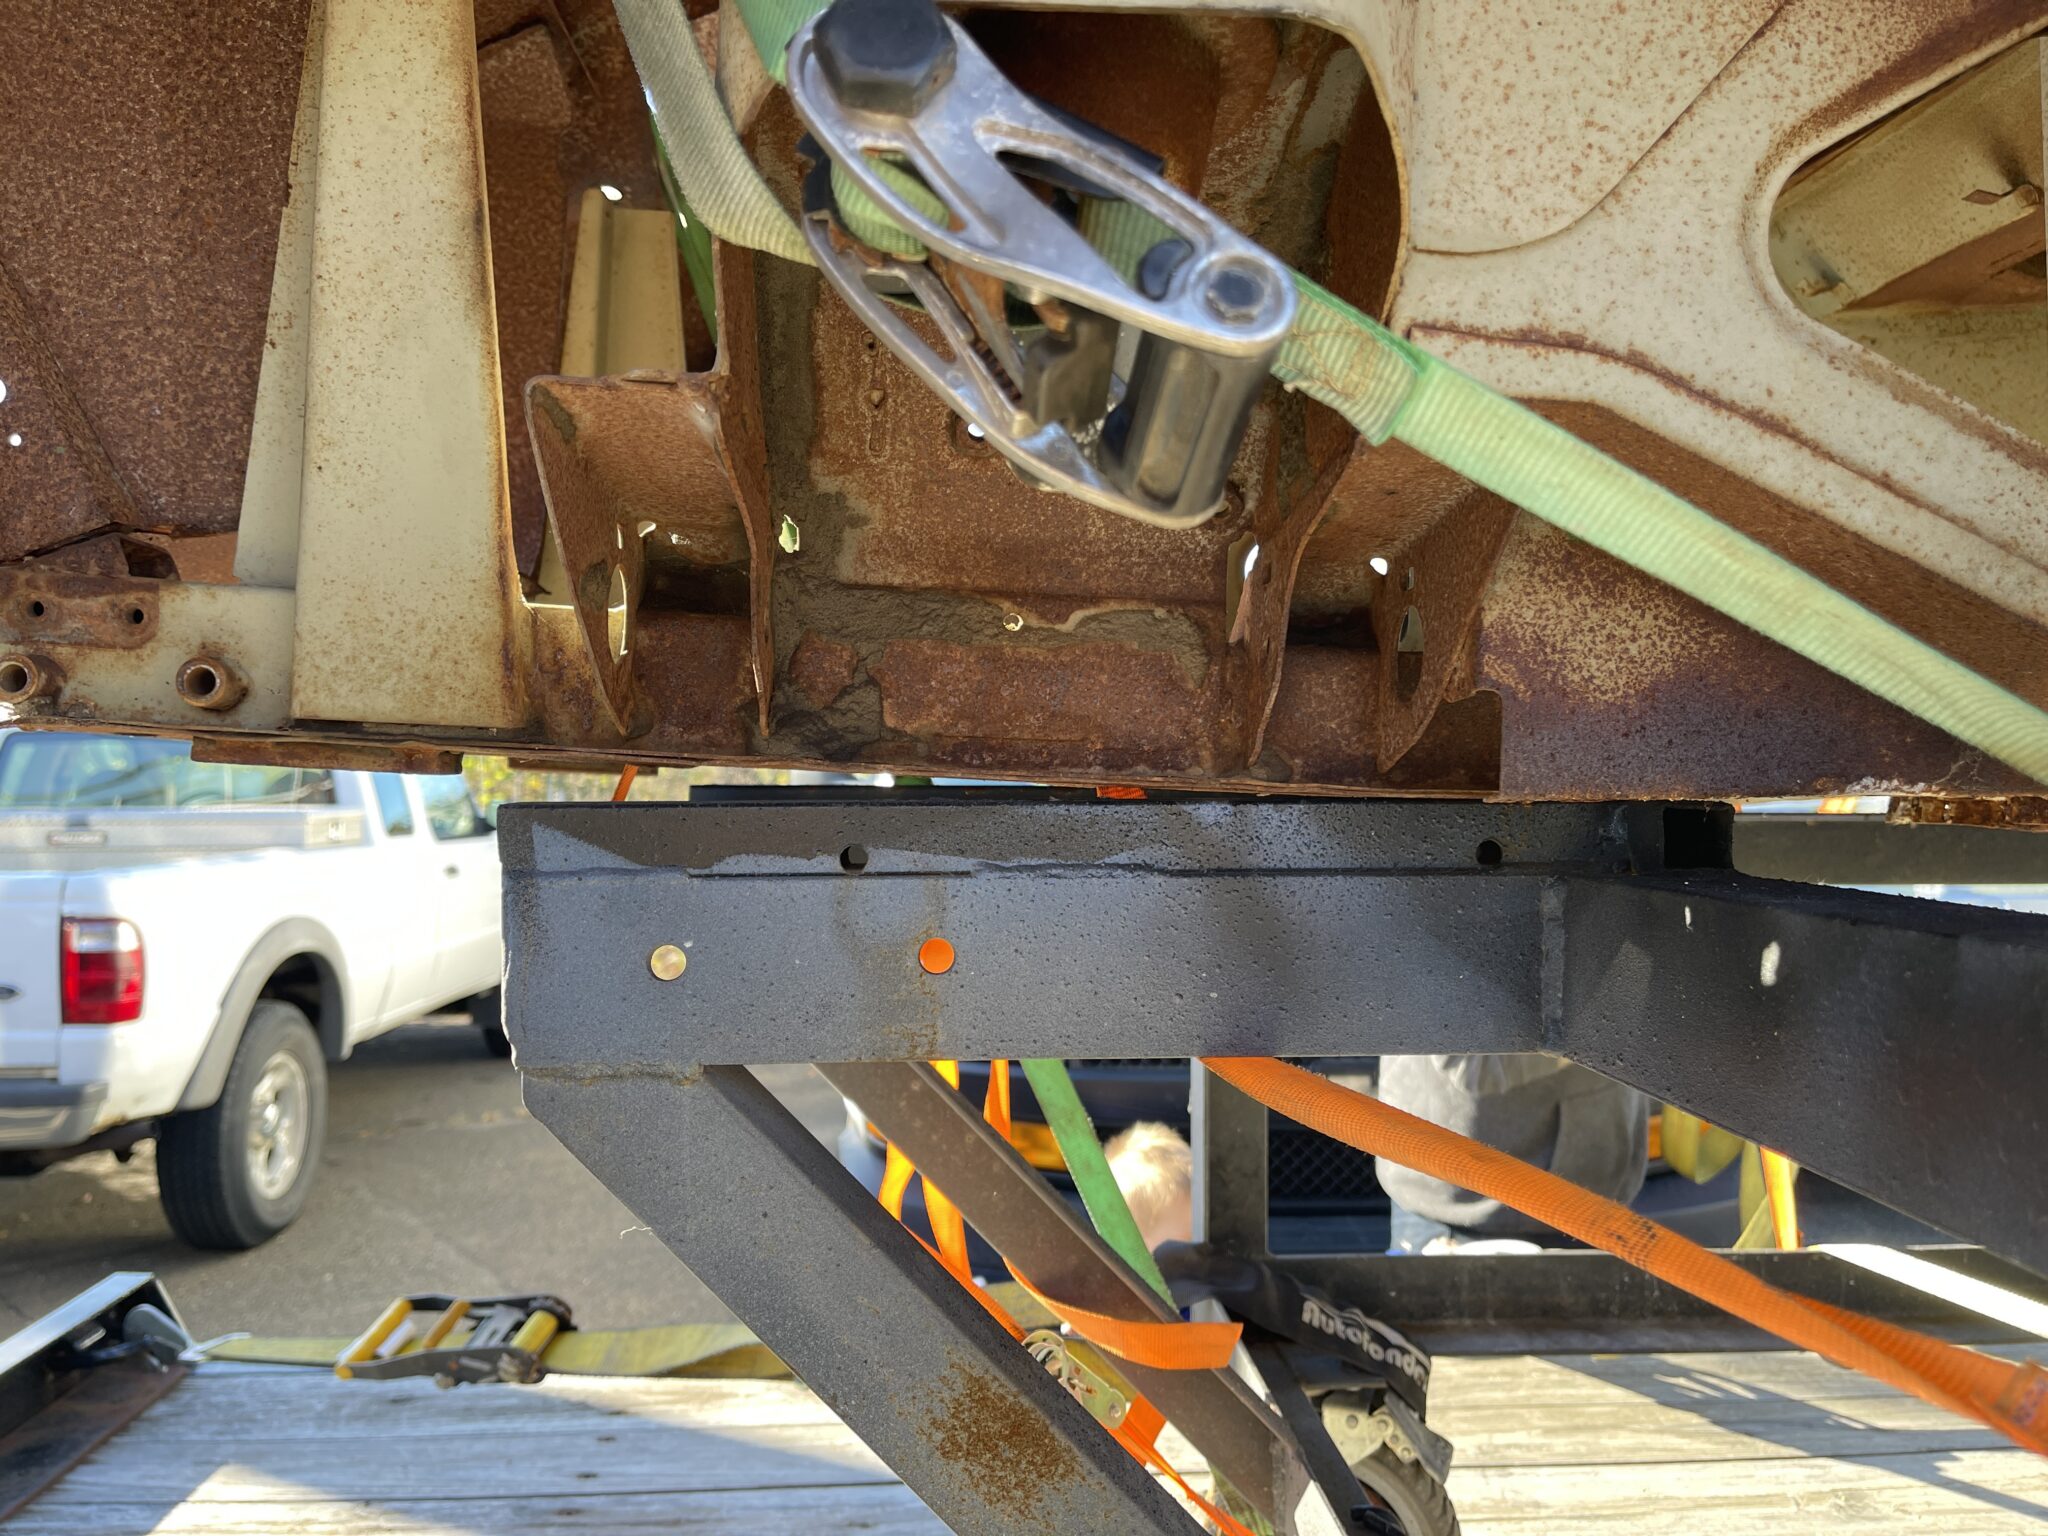
In the video below, you can see how every Bugeye has a little bit of bend in the front frame… by design!
We see a lot of bent front frames. That’s because they are supposed to be bent (upwards of course)!
In the video below, you can see how every Bugeye has a little bit of bend in the front frame… by design!
I love these charts.

Over the years, we have been asked a time or two, “What makes the biggest difference for those of us who want a Bugeye that runs at highway speed?” The two charts shown in this post (originally made for a Morris Minor, but apply to Bugeyes just the same) will give you a sense of which ratio, which gearbox, and which tire size produces the best mix of results! Chart one above shows the RPM’s with a variety of different tire sizes when a stock transmission is used, with no overdrive.
Chart two, shown below, provides the RPM ranges using the same tire sizes as the first chart, but with an overdrive fifth gear. A Datsun B210 was used in sampling, which has a .82:1 overdrive ratio; all three of the major overdrive gearbox conversions, Datsun, Ford, and our newest option which will be available soon, Suzuki (contact us for more details!) use similar overdrive ratios to the B210, so the numbers will be pretty consistent throughout.

There is one other variable… comfort! We generally do not deviate from 13 inch wheels because we find 14 or even 15 inch wheels excessively harsh riding in a Sprite. Still, these charts provide you the ability to look to see how wheel size and tire size makes a difference.
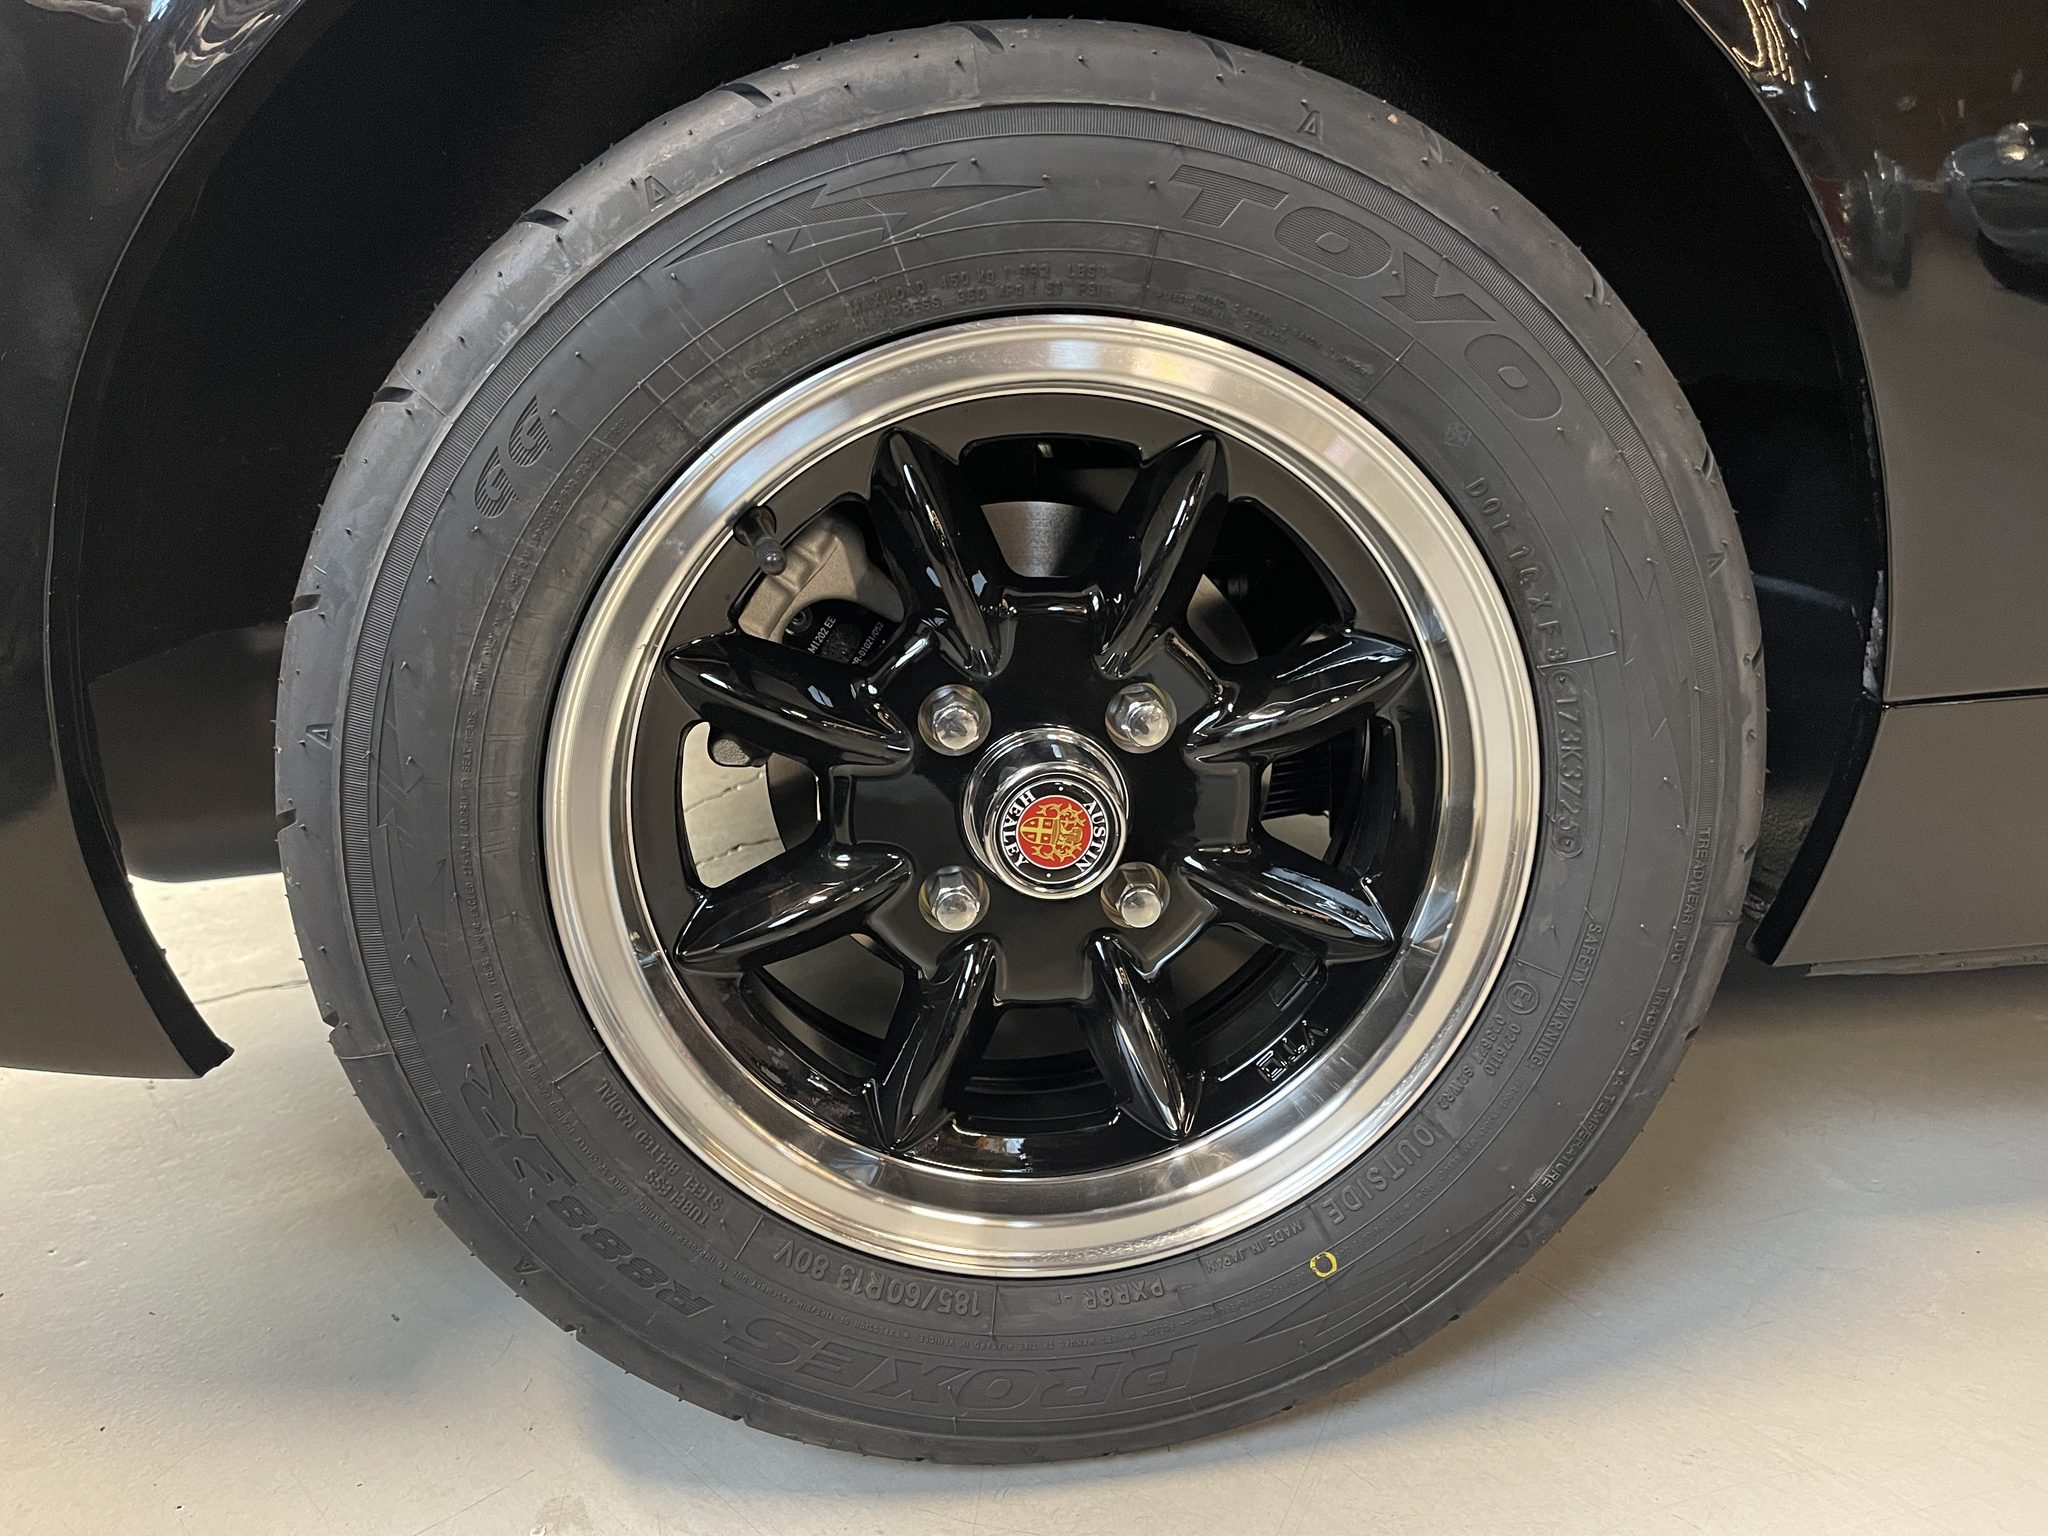
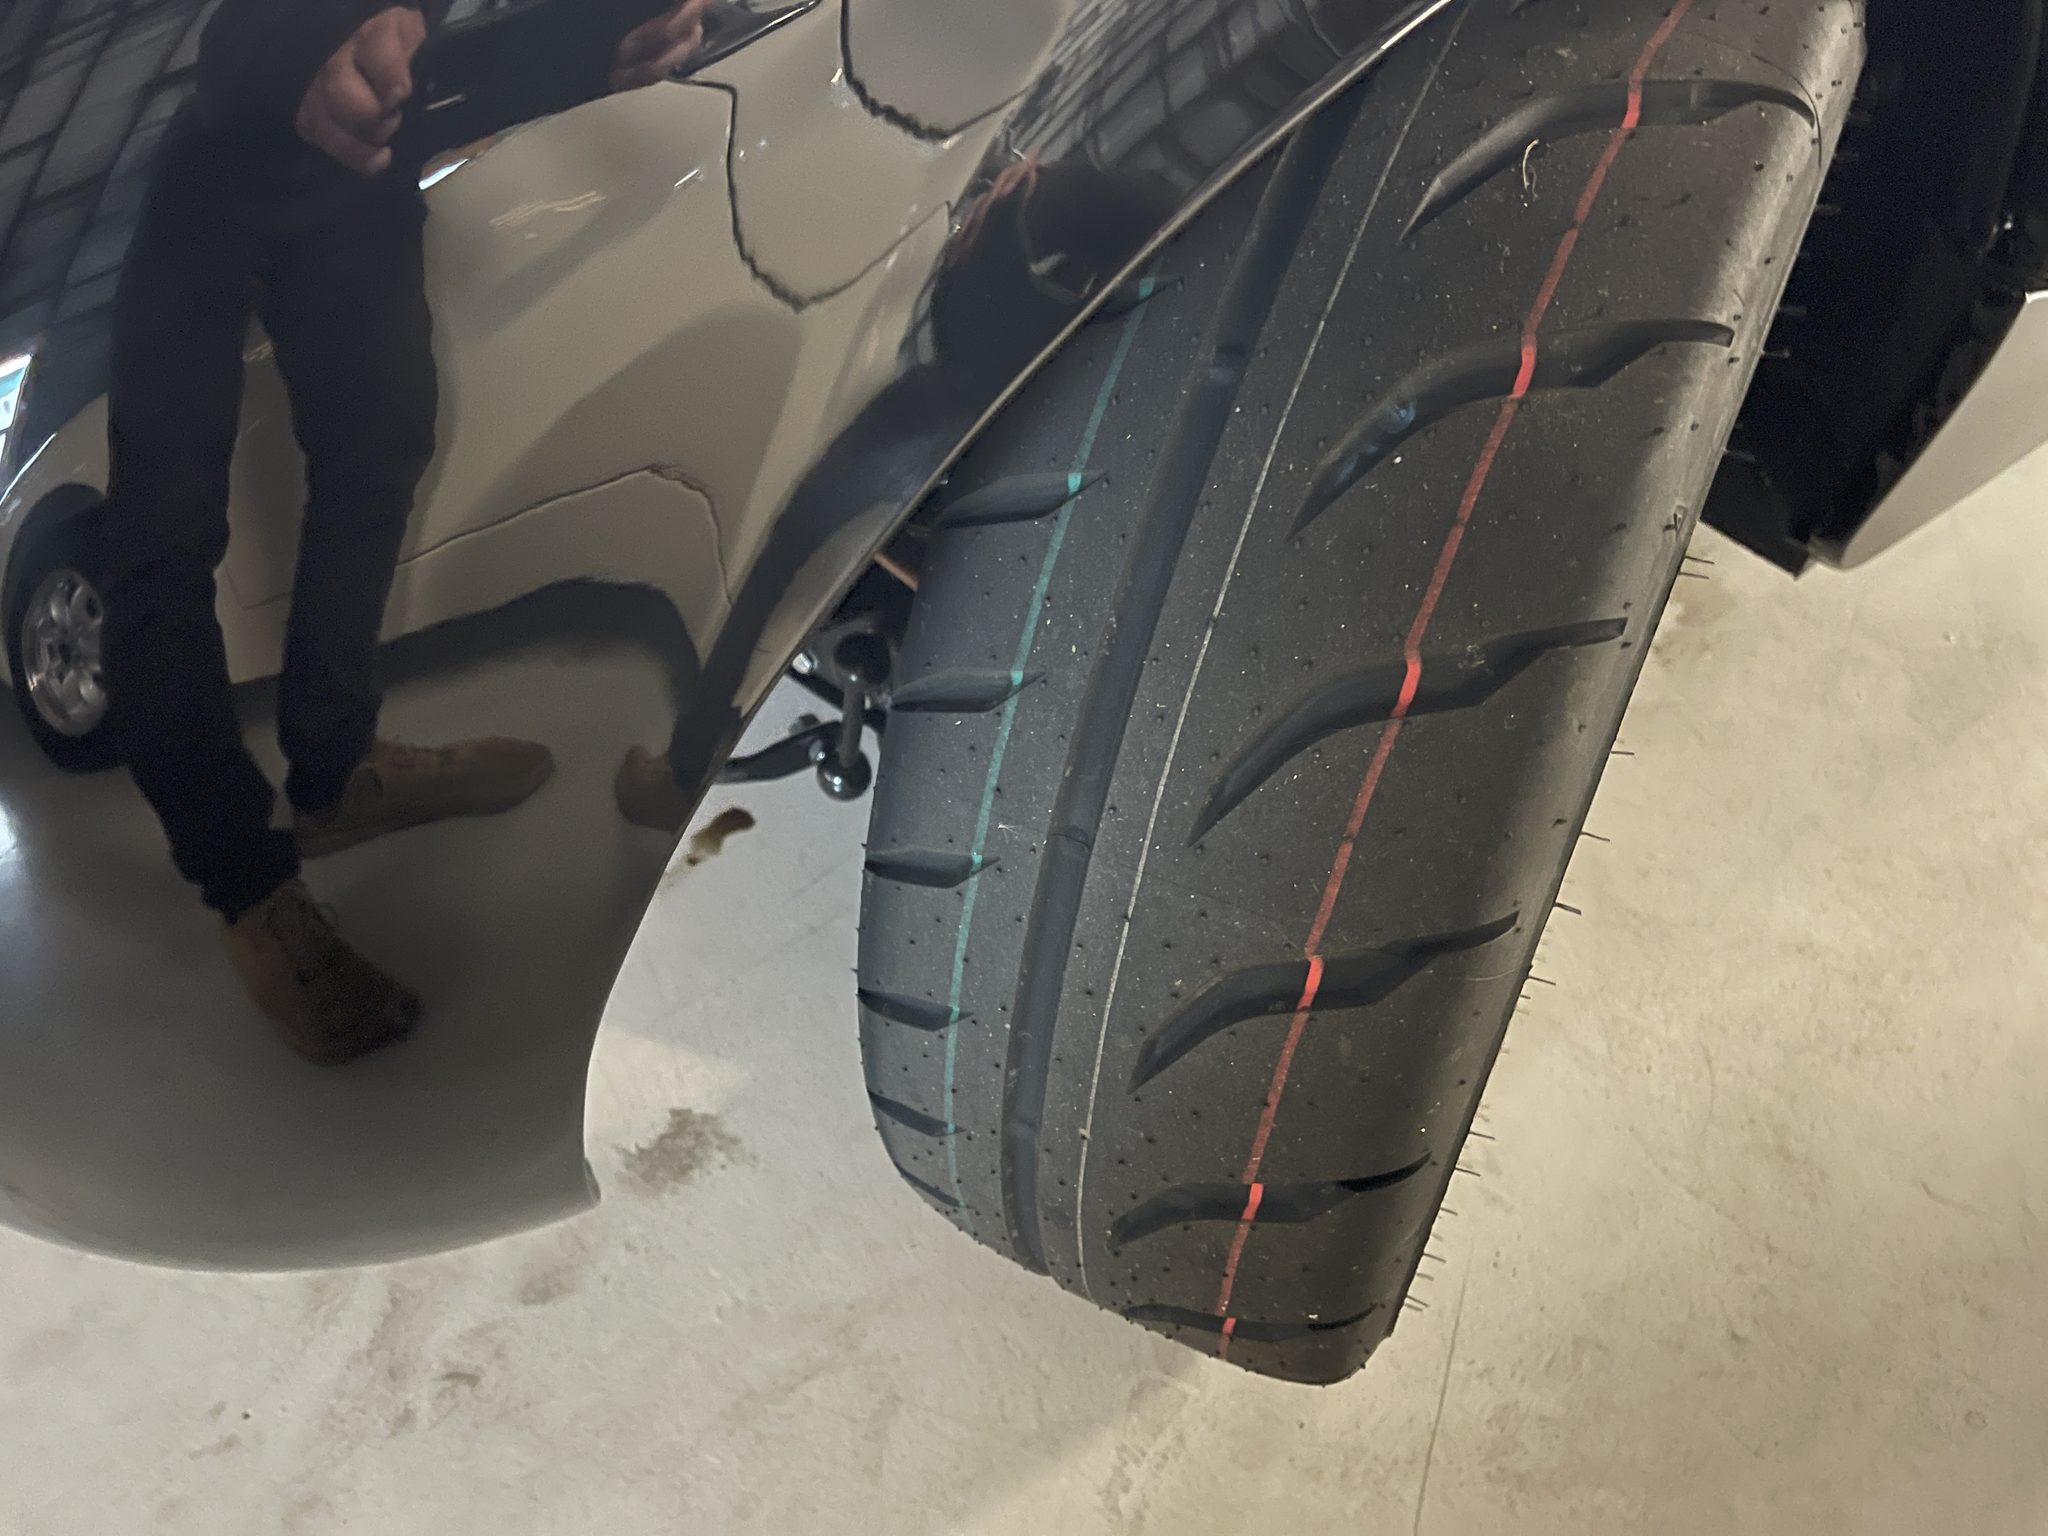
You can also see how a wider tire also brings the RPMs down at speed. We generally do not use wide tires because they also make for a harsh ride and stiffer steering. One exception is the 185/60X13 Toyo tires we just put on our Bugeye build called “Kit” that you can see in the photos below, along with our VTO Black Classic 8 wheel. These performance 185 tires are a sufficiently soft compound that they ride nicely in spite of the extra width. They look cool and ride nicely with lots of grip! (If you’d like a set of these tires or wheels, you can find them in our parts catalog by clicking on the photos below!)
We are constantly rebuilding differentials too, so if you want a 3.9 limited slip differential for example, click on the photo below to order one and get your place on the waiting list secured! (Currently quoting December/January delivery).

Thank you to Brian Lane for creating this very useful document!
Sure, HS2 carbs perform better, but another nice thing about them is that they tend to leak less than their older, smaller counterparts. The original H1 carburetors employed on Bugeyes have a few more rubber parts and junctions than the later HS2s have, and can leak fuel when those rubber parts perish. Ethanol doesn’t help, and might actually accelerate leak frequency. The rubber parts we sell for these carbs are made of ethanol resistant Viton. So if you have never changed your top hat gaskets, now might be the time. These gaskets are positioned where the float bowl is connected to the carburetor, shown in the video below.
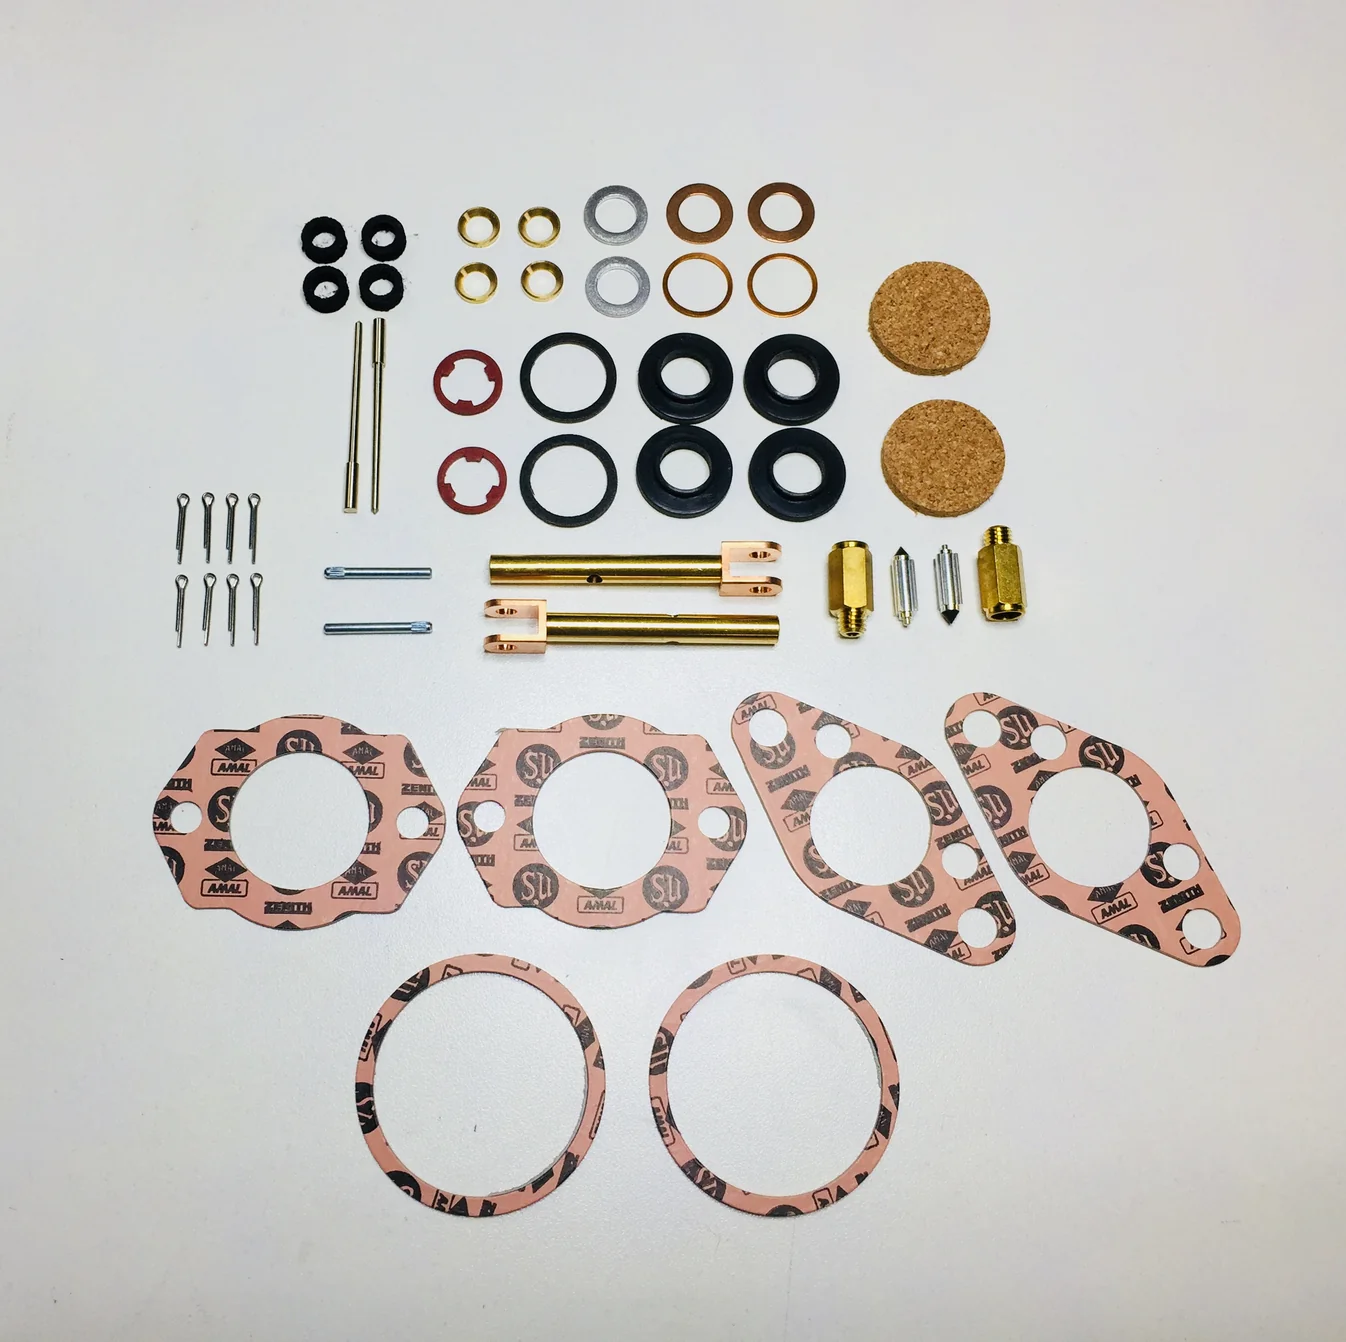
The carbs in the video shown here were hemorrhaging fuel through not only the top hat, but also through the main jet, meaning this set will need jet gaskets and washers, as well. Our H1 rebuild kit has everything you need to ensure your carburetors are potty trained! Click the photo below to order!
Next time you remove a wheel, I invite you to put some energy into your wheel studs (that’s mental energy, not wheel torque energy). The wheel nuts on our Spridgets (all Bugeyes through rubber bumper Midgets 1958-1980) should be torqued 38 pounds each. The entire universe is designed to torque to more foot pounds than that, and if any modern shop gets anywhere near your Spridget (unless you have a technician with old car experience), chances are good your studs will be stressed by too much torque. Modern equipment is just plain over-built for our application. As a result, it’s not hard to over-torque Spridget wheel nuts and damage the threads of the lug nut and/or the lug stud, and this can create a serious safety issue.

It’s difficult for some people to spot a stretched stud. They don’t always look as obviously stretched as above. More commonly, you might see some loose threads ripped out of the lug nut if an over-torque event has occurred. Keep an eye on this next time you remove a wheel from your car and see if anything looks out of sorts. If a new lug nut catches as you thread it onto the stud, that could be a sign that the threads are damaged.

Make sure that if you bring your car to a tire shop, for example, that you advise them the proper torque for the wheels is only 38 pounds, and that you want your nuts torqued with a hand-held torque wrench and not an impact gun. If you have any feeling that your Studs are elongated or stretched, make sure to change them, along with your lug nuts, the next time you have the wheels off your car.
We had a call this week from a customer who called to purchase a single wheel stud, and when I asked him why, he said that he torqued the stud properly, and it broke. This is a major red flag… his stud sheared at the proper torque because it had been damaged previously by someone who had over-torqued and stretched it. That means that all 16 of the studs (and potentially the lug nuts as well) were likely damaged at the same time in the same event, and even though all of his lug nuts were now properly tightened to 38 pounds as a result of his attention to this matter, he is taking a chance by leaving those studs in place, and I’d encourage anyone in a similar situation to change all 16 studs and lug nuts with safety in mind. We offer new studs and nuts in our parts catalog; click the photos below to get yours, or click here for our full catalog!


So be a good detective. Keep this in the back of your mind, and I wish you happy motoring!!

Here’s a delightful transformation… This car Star has undergone multiple improvements after being purchased by a customer in California and is now nearing the end of its pre-departure inspections. It became clear during our vetting process that the worn out drivers seat foam was really beyond its service life. Check out the video below, where we chronicle the seats before and after their revitalization!
We removed the old foams and re-sewed new skirts on the seat base covers to accommodate the thicker new foam that’s so much more comfortable, and a delight for your rear end. You’d never know we upgraded it by looking at it, but you can certainly feel the difference!

The result is a delightful driving experience, and was well worth the additional expense for these beautiful new pillows that are far superior in terms of support. Too often the metal trays that hold these foam pillows are rusted and damaged beyond repair, and in this case two of these trays were needed. Take a look at the products below, feel free to order them from us and we’ll get them on the way so you can complete a similar restoration!


In addition, if you would like us to sew new skirts on the bottoms of your seat fabric, we can do so to complete this restoration for you. All you have to do is mail us your old seat bottoms, and we’ll complete that process, too! Just give us a call first so we can make sure we have your particular color and texture in stock.
It’s time for my quarterly Sprite fuel gauge post.
Running out of gas happens to the best of us.

There I was, on another glorious test drive living the dream… when sputter, sputter, hmmm, gas gauge says full, and then, like Dustin Hoffman on his way to rescue Elaine, I was out.
I had become a dead Bug on the side of the road.

The gas gauges on these cars always need to be taken with a grain of salt. I took off the fuel cap, shook the rear end of the car, and no liquid was to be heard. I had once again run out of gas.
Once I rolled clear of the road and into a condo parking lot, I called Nick to bring fuel for the rescue and happened upon a discarded ice cream maker, upon which I sat in the shade while waited, pondering life in cars for whom “distance to empty data” wasn’t even remotely a thought when their dashboards were conceived. Modern cars sometimes make our old cars look really old-fashioned.
I speculate in the video above that the sender was in the empty position but the rheostat that speaks to the gauge was a bit wonky and shorted to open, which tells the needle to read full even though there is not an ounce to be found. We thoroughly test each fuel sender we install for functionality, but for whatever reason this one was throwing out a false reading near empty.
We removed the sender, installed a new one and resealed the screws, and everything works great again.
Moral of the story… always go for the audible if you think your gas gauge is lying (and fill-up and use your trip odometer to verify your range)! A 7.2 gallon Spridget fuel tank will take you at least 150 miles and you can fill up again and calculate your exact mileage and range from there!
