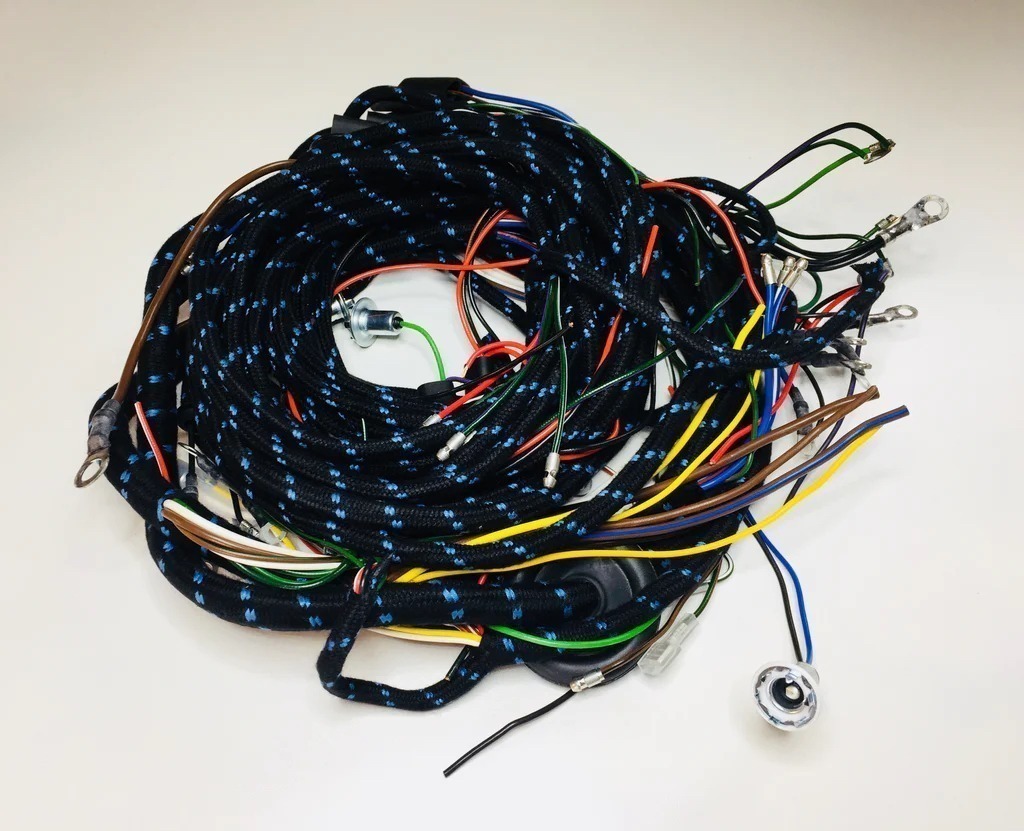
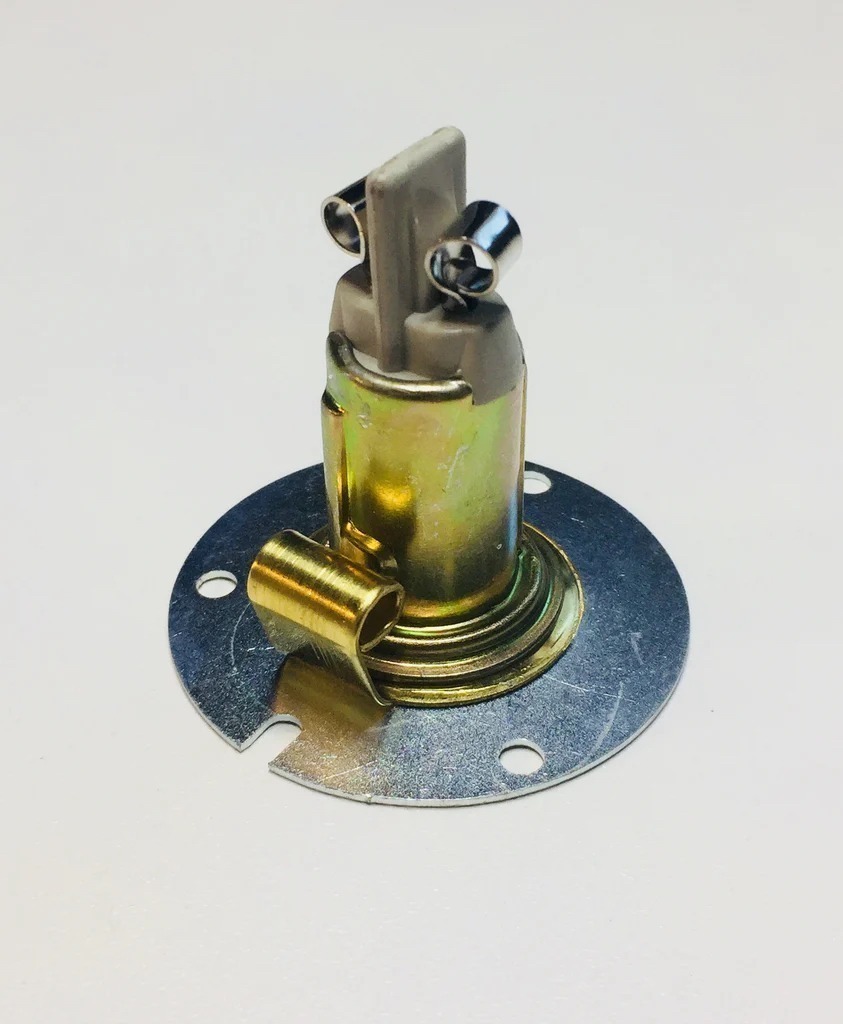
Electrical upkeep is a very important component of classic car ownership. After 60 years of dirt, dust, snow, rain, heat, and cold, electrical components, such as light sockets, fuse blocks, and even entire wiring harnesses, deteriorate and become not only non-functional, but also a fire hazard. British cars have a particularly sketchy reputation when it comes to their Lucas electrical systems; mechanics and owners alike either swear by their designs or detest them. I personally believe that if they are maintained properly, the Lucas electrical systems found in a Bugeye are just as reliable as any other. The issue is that most of the time a car comes through our shop, the maintenance has either not been performed at all or was performed incorrectly.
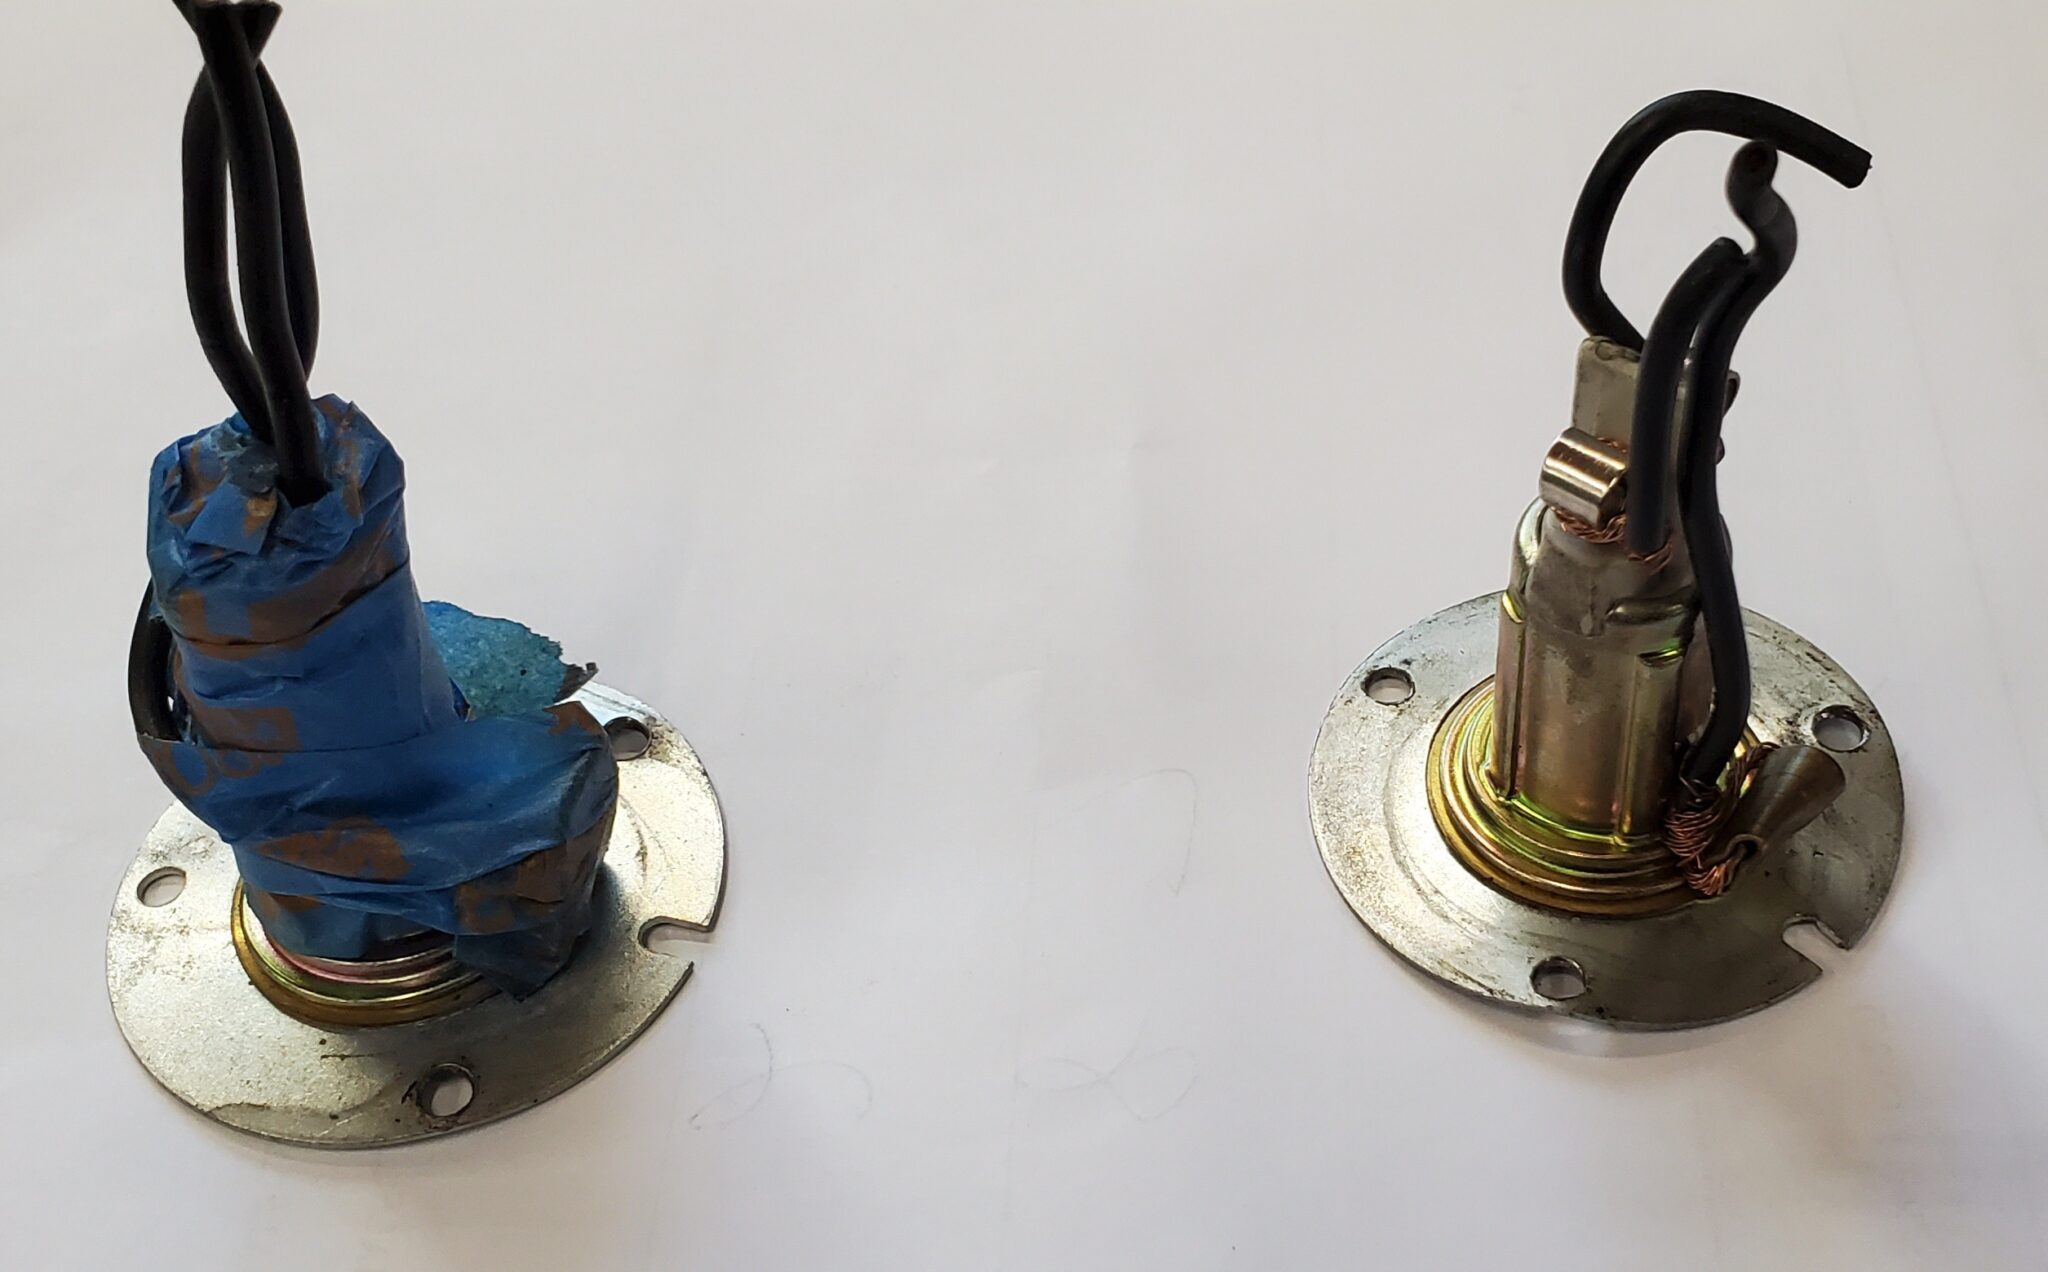
A perfect example of this comes from one of our projects this week. I cannot begin to quantify how many times we have seen amateur electrical work performed on Bugeye wiring systems, with some particularly creative solutions being deployed in times past. The work in question in this post revolves around the turn signal sockets in the nose. Due to their loacation low in the bonnet, these sockets are frequently the source of corrosion, which causes them to stop functioning. This is undoubtedly what happened here, as whomever did the work last replaced the sockets with new ones. Unfortunately, as the pictures above and below suggest, they did not do it properly.
The first issue we saw immediately upon their inspection was the presence of blue painter’s tape around the socket. We sometimes see electrical sockets wrapped in tape for insulation purposes; this is not necessary, as there is a rubber boot that goes over the socket to keep it insulated. However, a paper-like tape such as painter’s tape is a dangerous type to use, as if there is some kind of an issue where there is a wiring short, this tape can catch fire, and that could spell the end of your Bugeye!
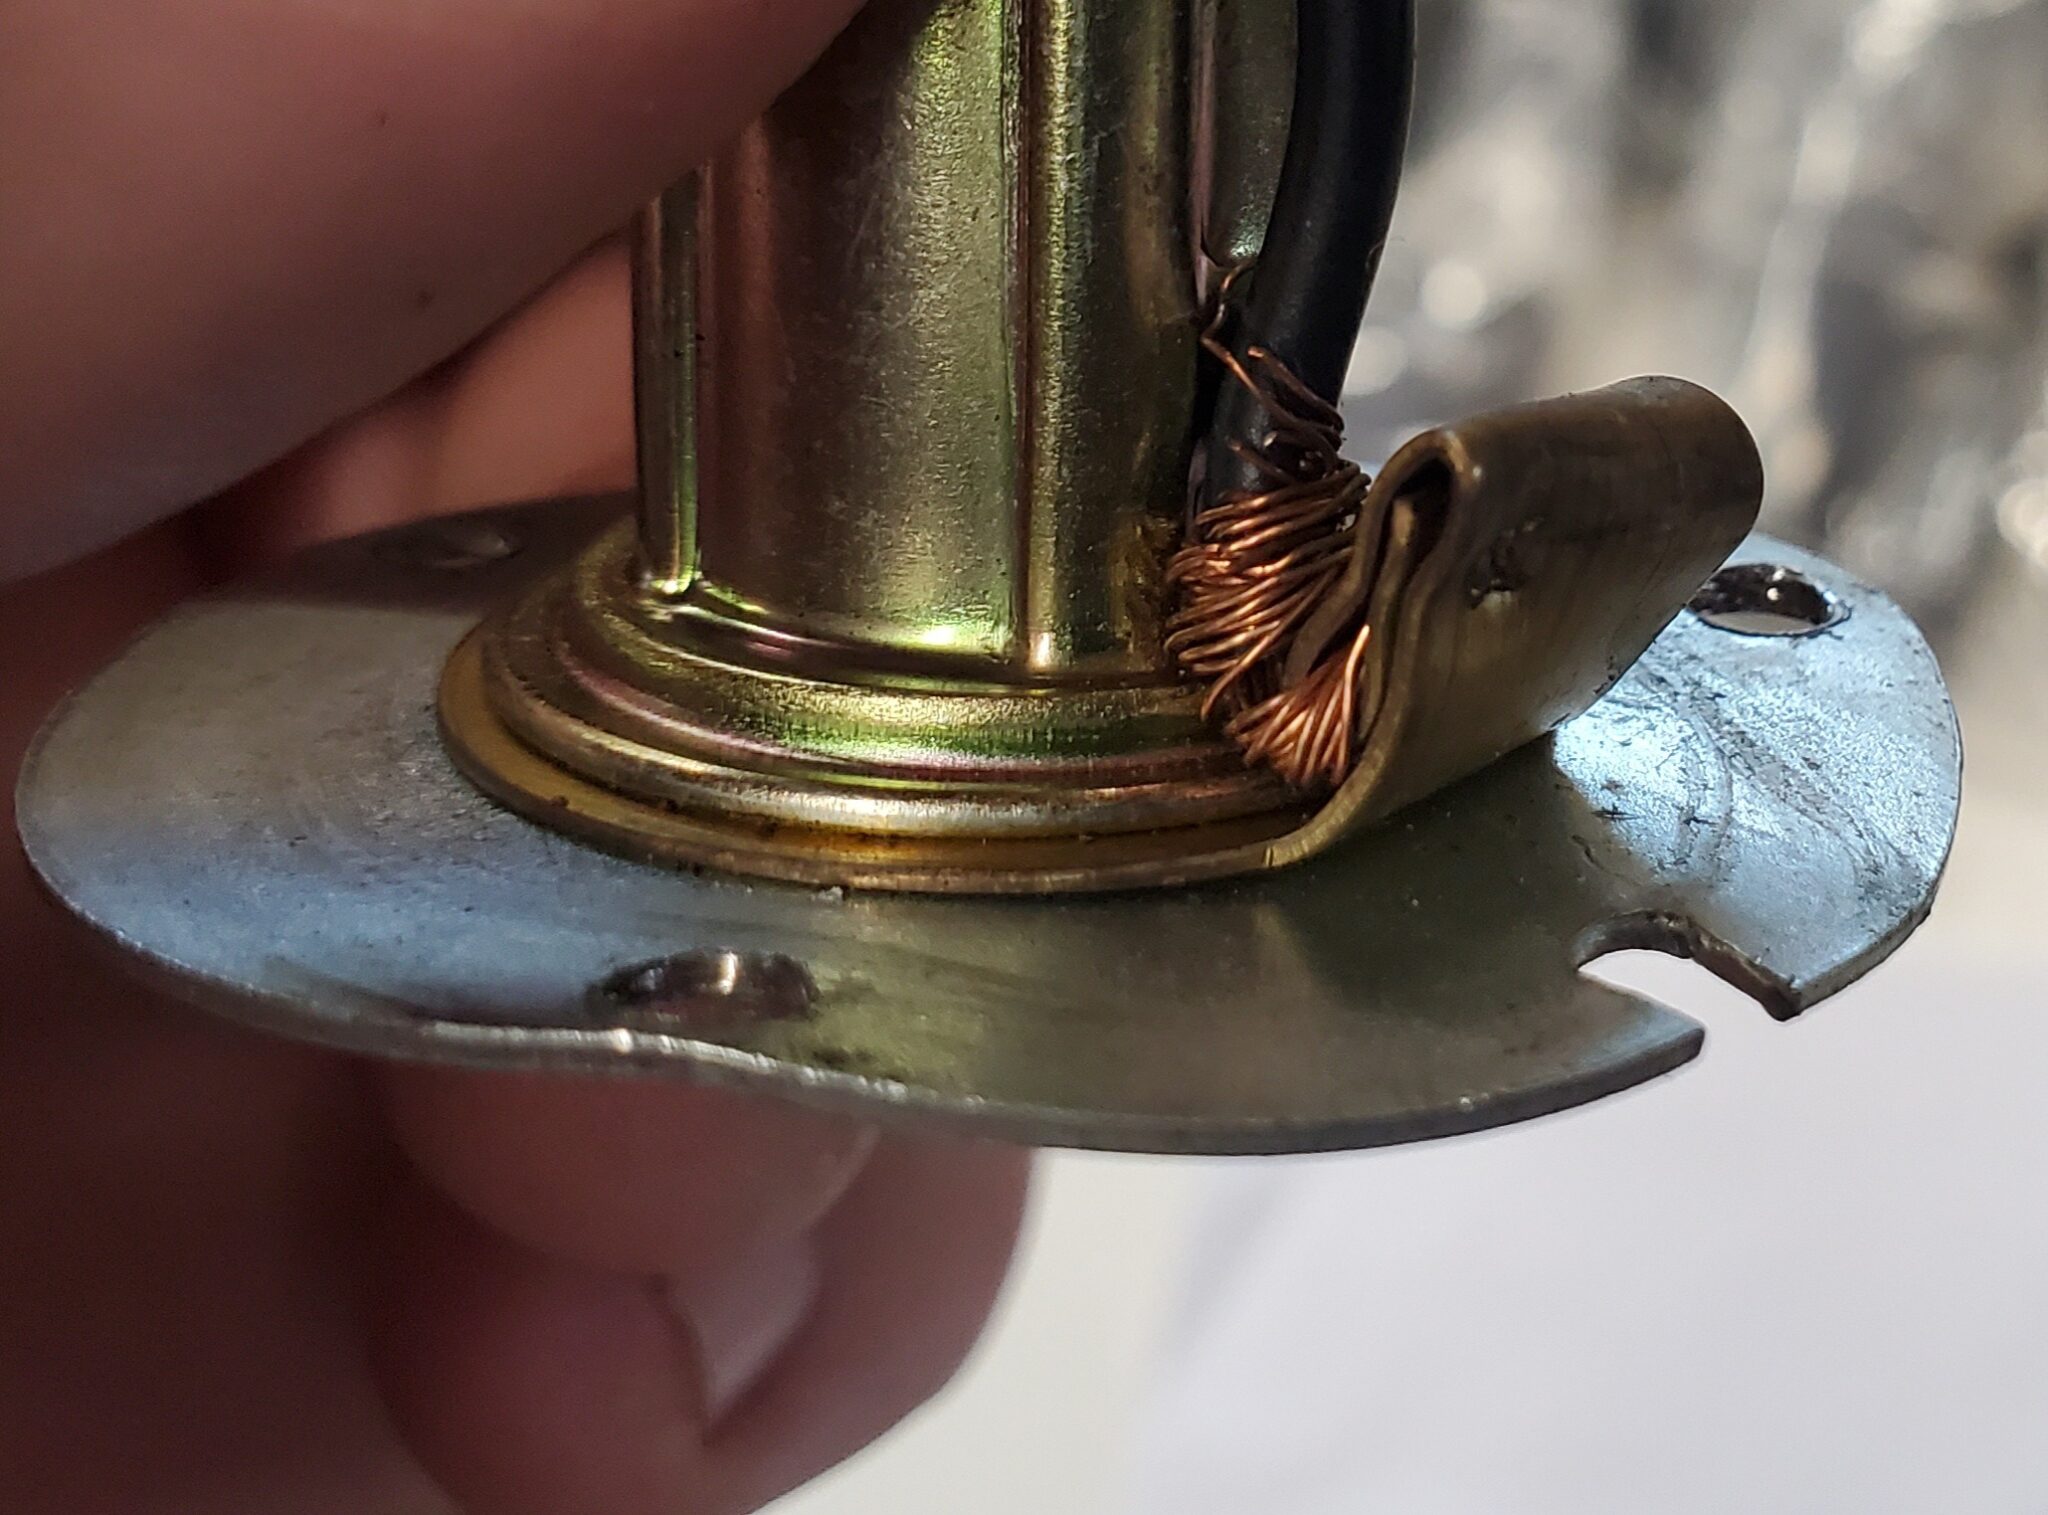
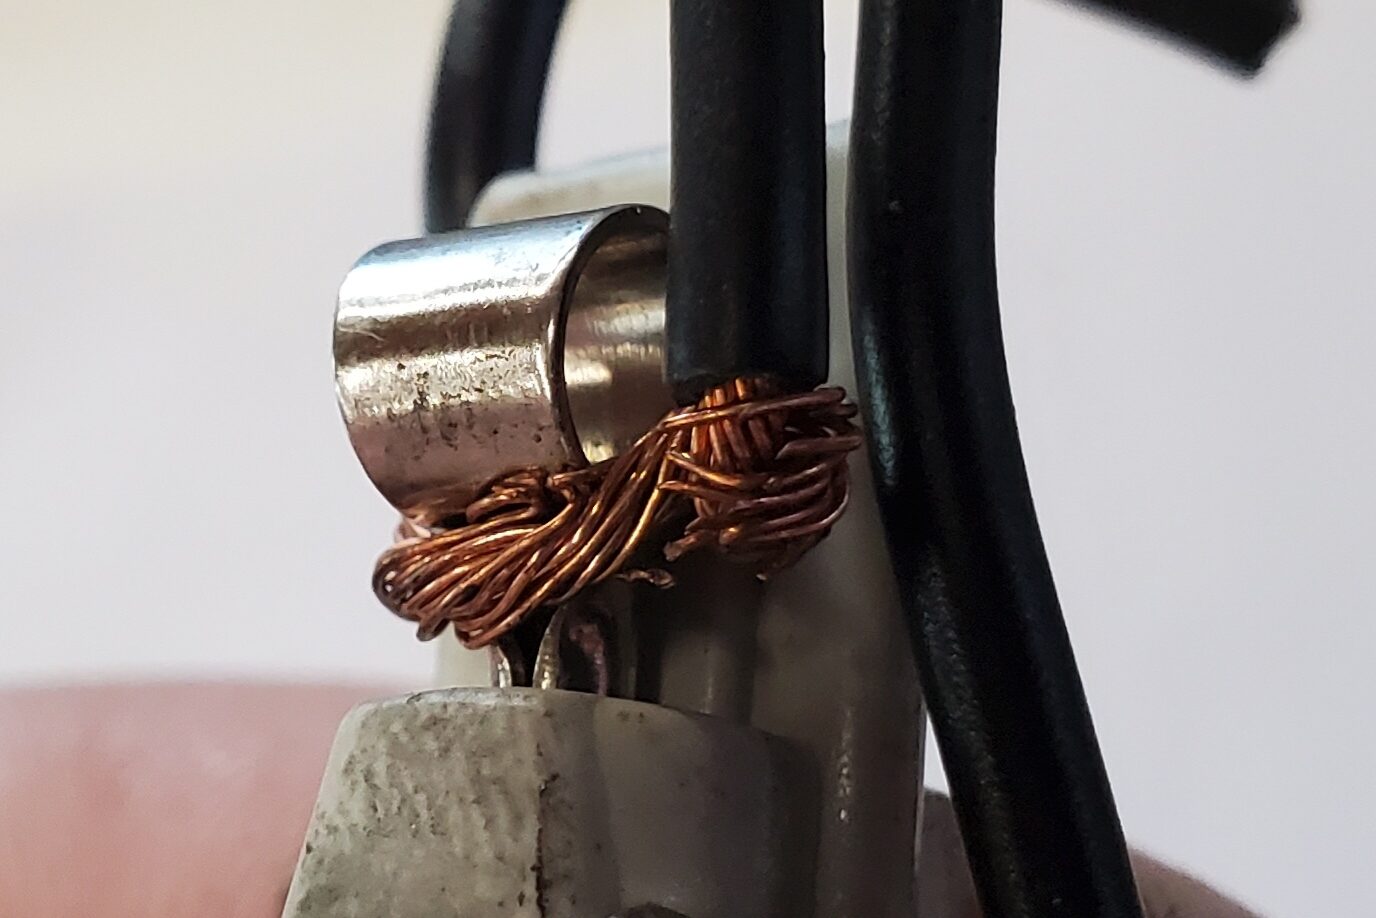
Then, when we peeled the tape back, we discovered why the previous mechanic wrapped the socket in the first place. In the photos above, you’ll see that the previous mechanic stripped the wires back and wrapped them around the bullet connector receptacle instead of connecting them the proper way. For the ground wire, due to its location, they had to actually crimp the connector shut to hold the wire in place. Exposed wires such as this are always a bad idea, as they increase the risk of a short which, coupled with the tape mentioned earlier, can cause an electrical fire.
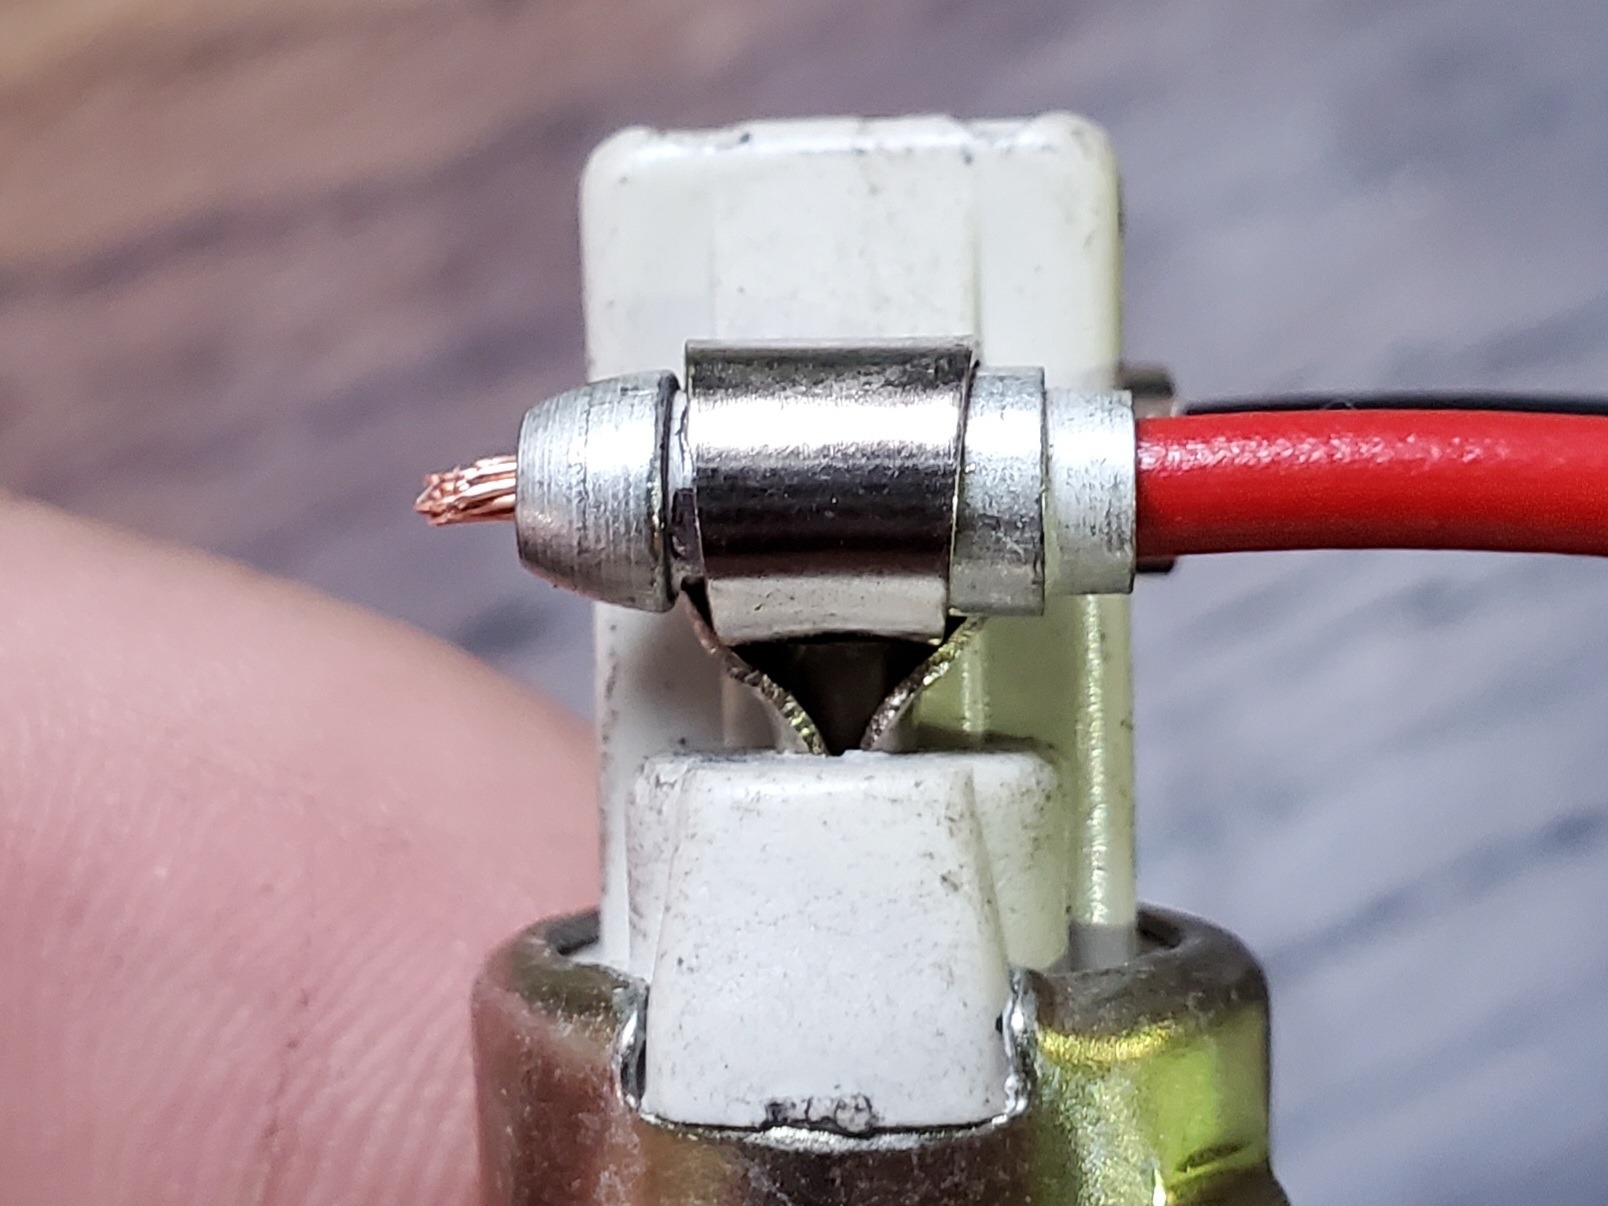
All we had to do to rectify the wiring issues was remove the damaged sockets and replace them with brand new ones, add the correct bullet connectors like you see in the pictures below, and install them in their rubber covers, and the turn signal lights were ready!
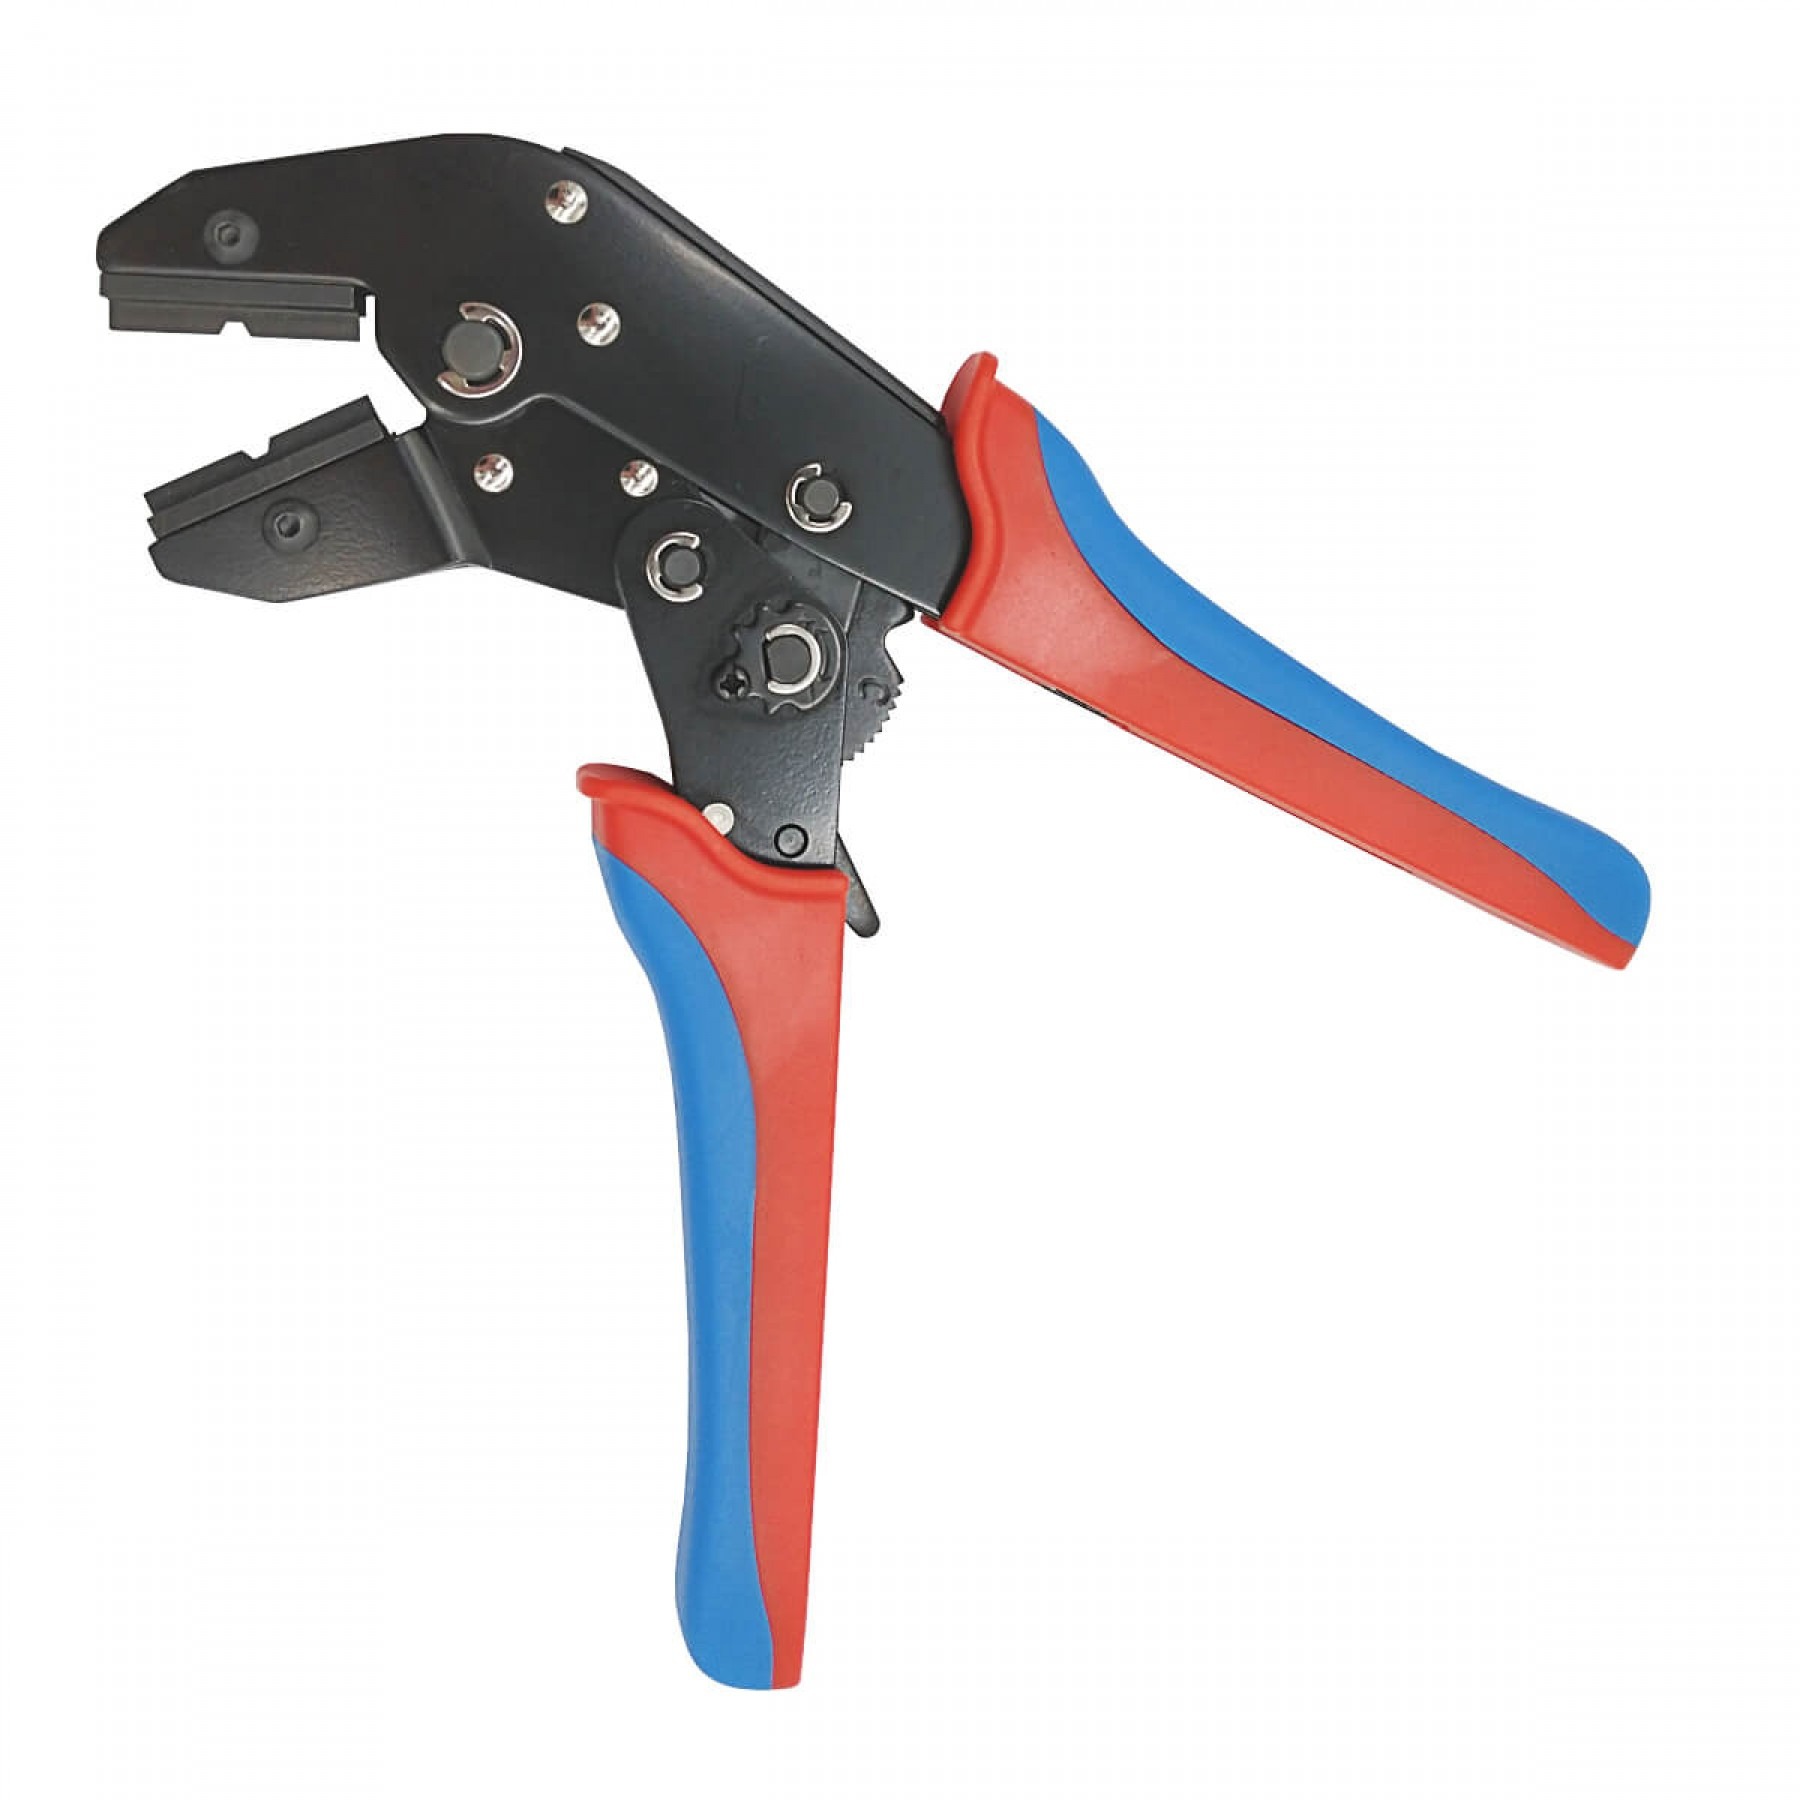
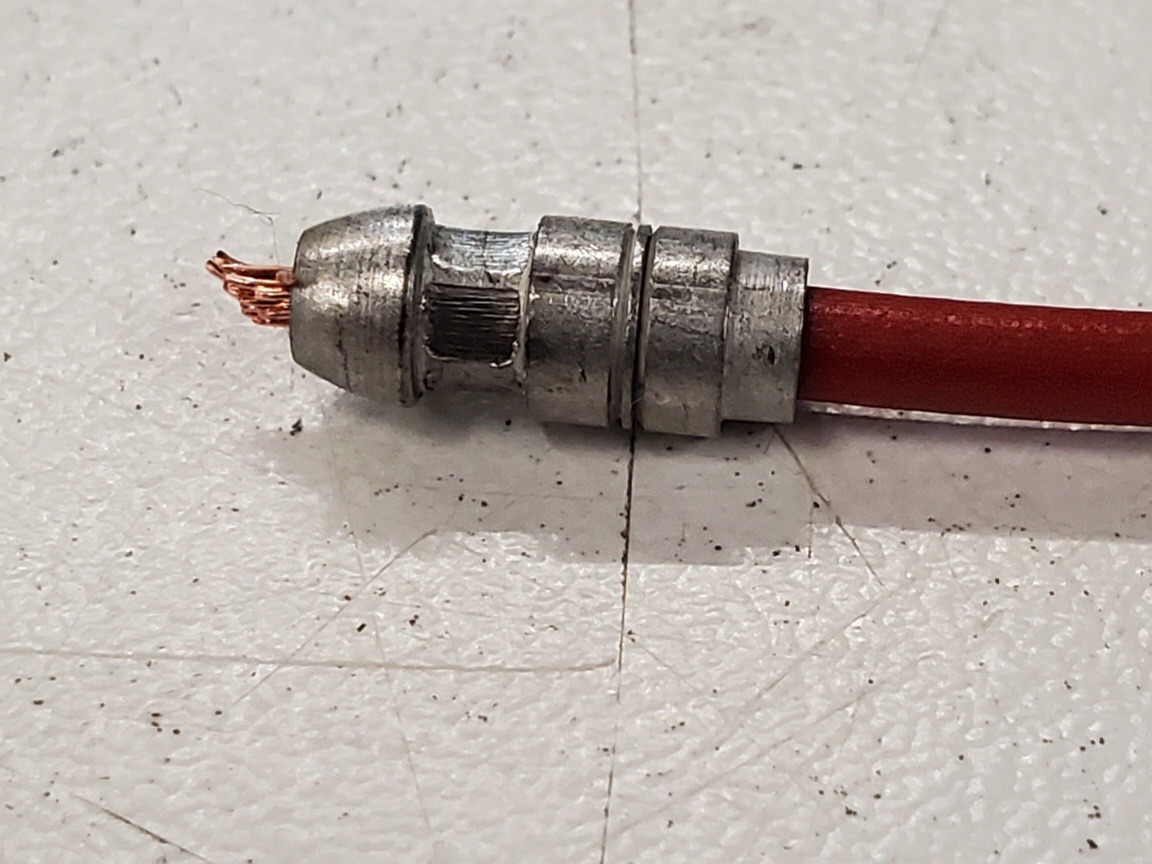
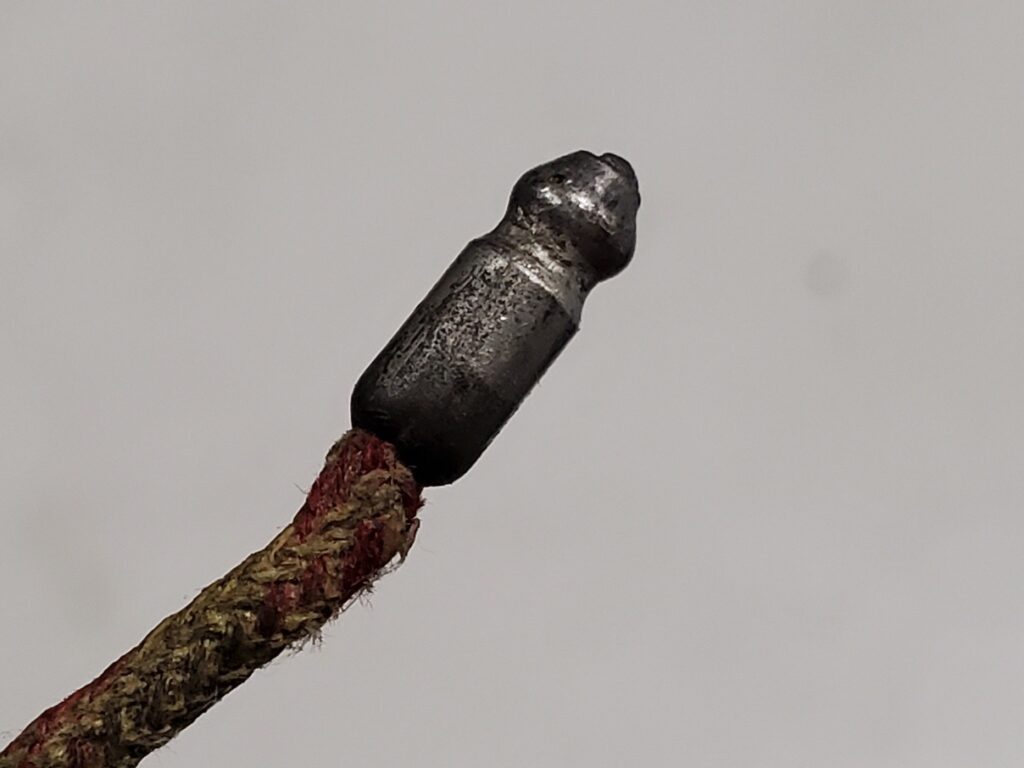
When we install bullet connectors here at the shop, we use a special crimp-on bullet connector that requires a special tool to crimp the connector on. (You can get both the bullets and the tool here.) This is a very sturdy connection and is faster to install than the conventional bullet connectors. It is illustrated below by the red wire end. The bullet that is used on most Bugeye wiring is a solder-on bullet. This is illustrated below by the black wire end. The solder does just as good of a job as the crimp-type one does of holding the wire to the bullet, it just requires a little more time to do correctly. To install them, all you have to do is strip the wire, slide the terminal on, and fill it up with solder through the tip!
We hope this post will encourage you to inspect your electrical systems to ensure that every component is safe and functional. Should you find that your Bugeye’s wiring isn’t up to snuff, give us a call today! We have all of your wiring needs available in our catalog, and we are more than happy to have your car brought to our shop and have the electrics gone through and replaced if you choose not to do it yourself! Click on the photos below to check out a couple of our electrical offerings, or click here to view our full catalog!
